PC Build 2025
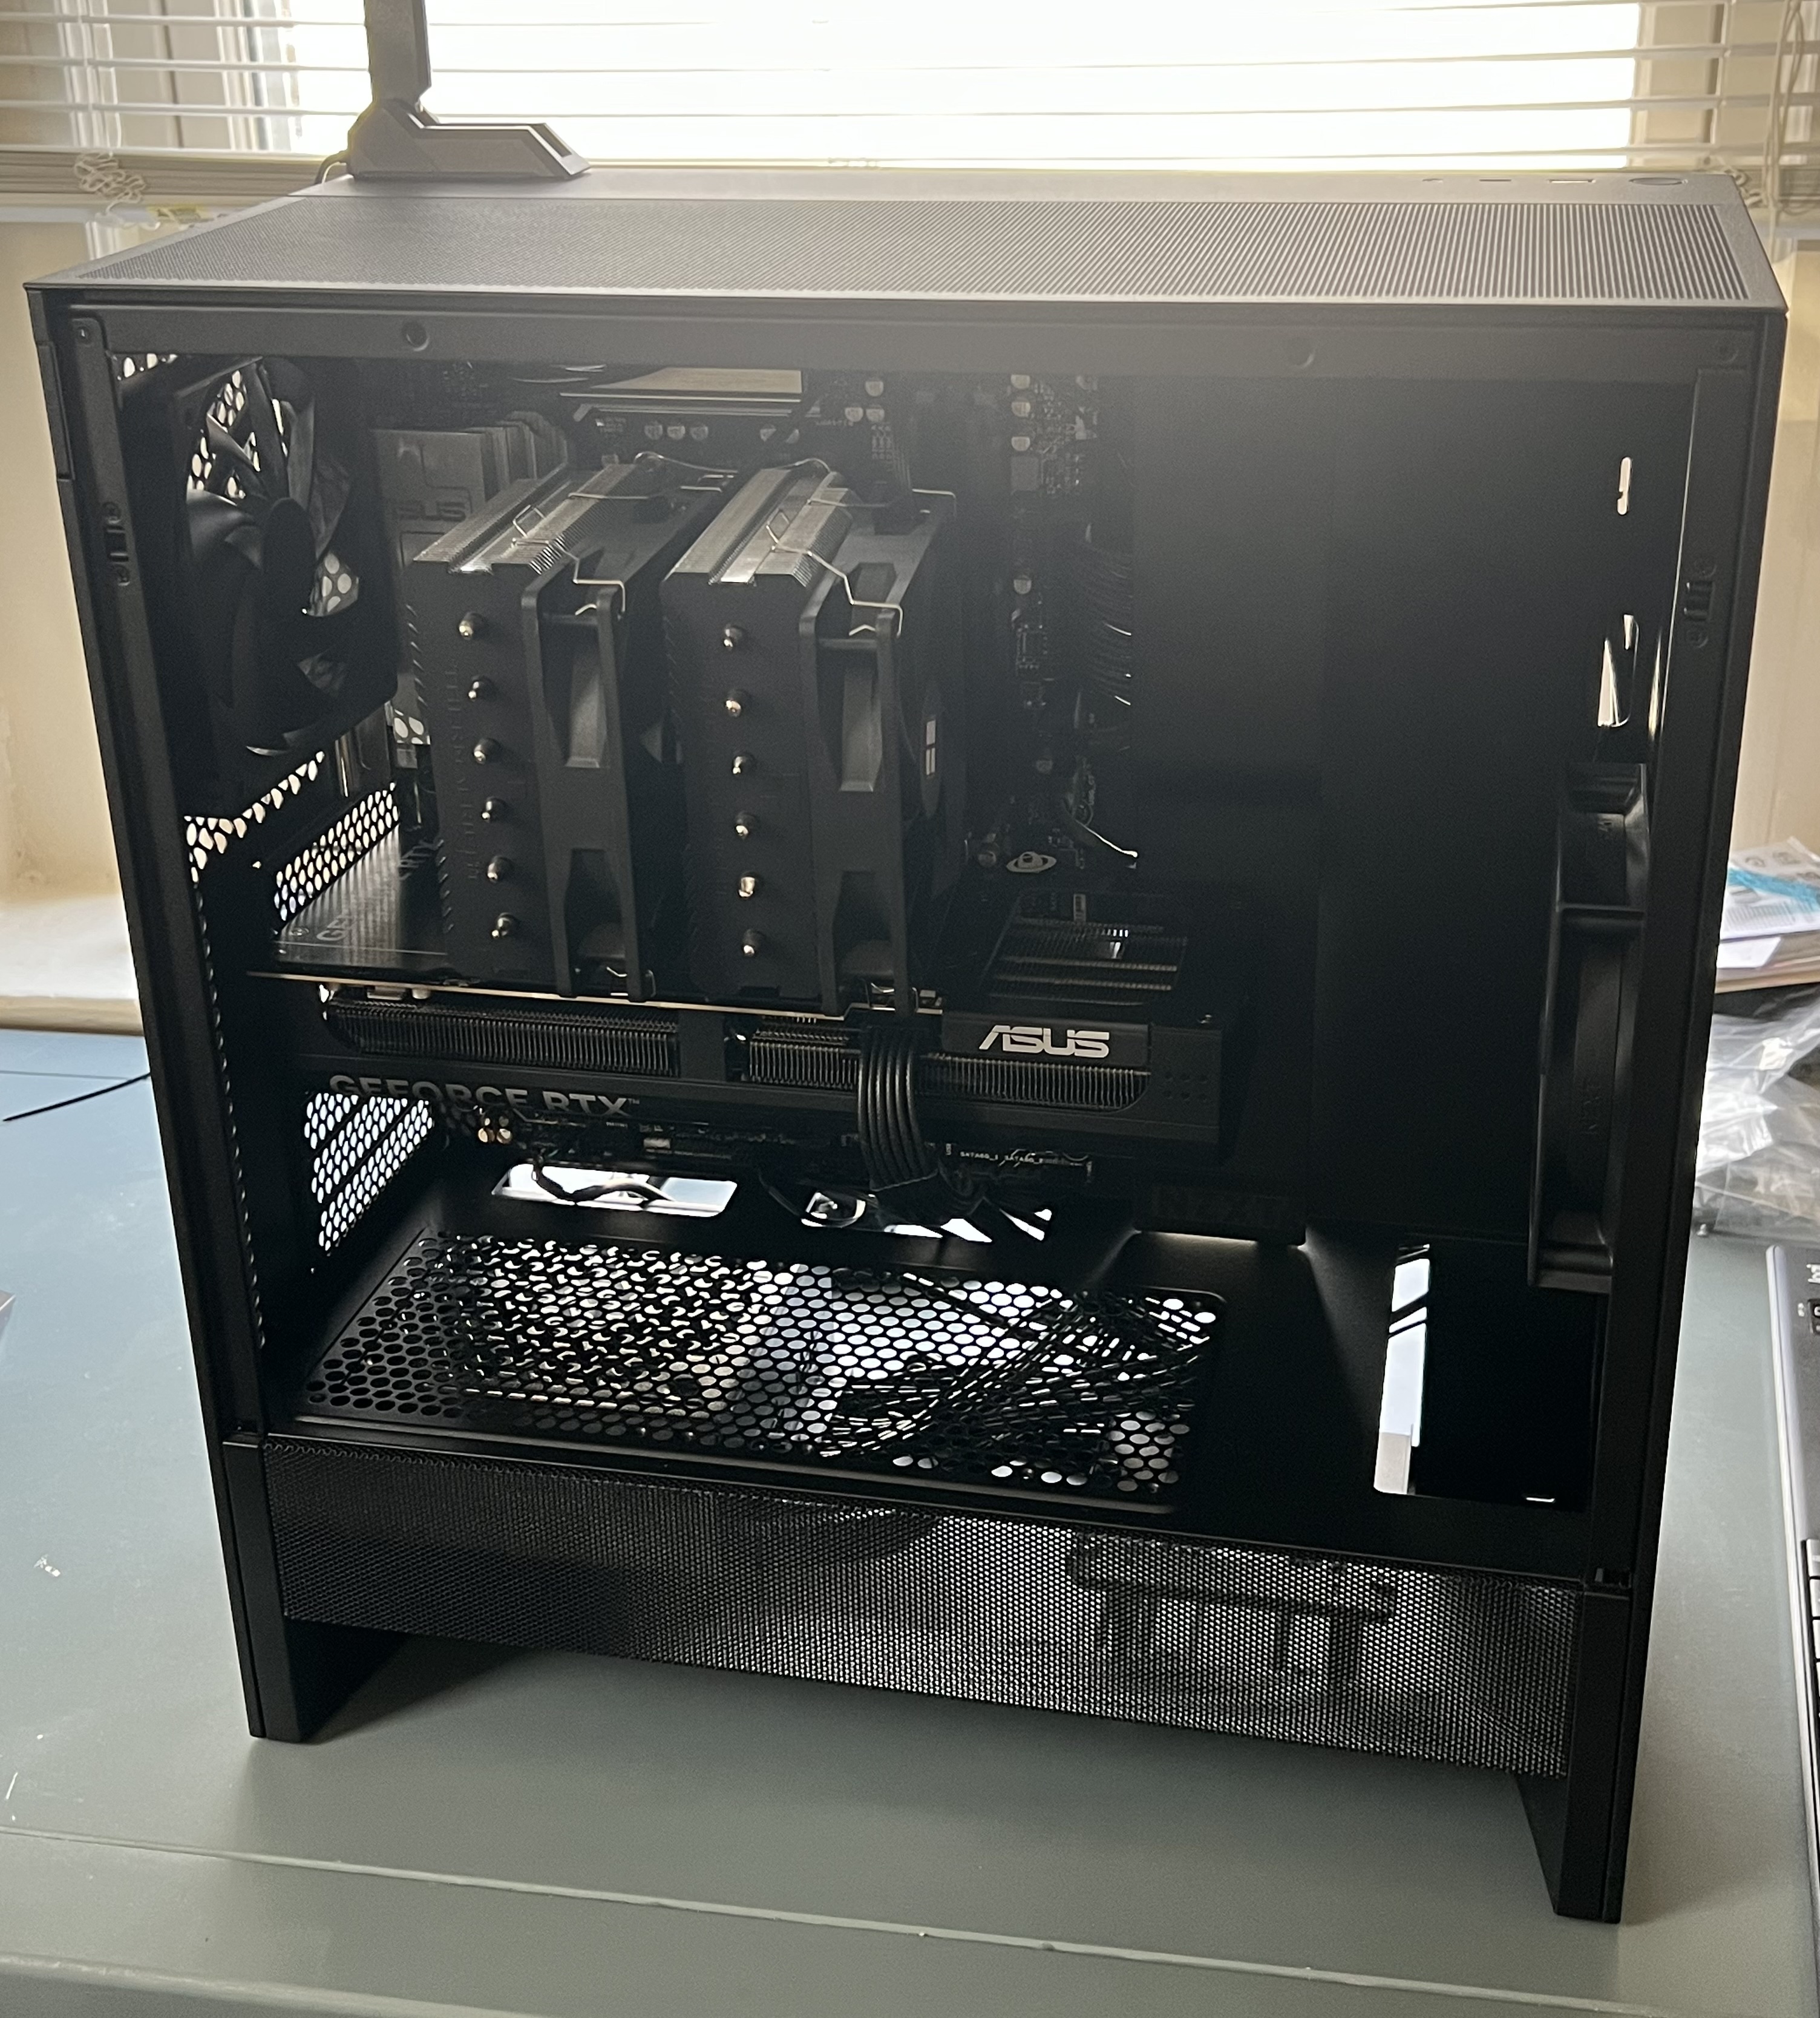
I finally decided to build a PC! My MacBook Air is great for daily personal use, but I've found myself wanting a more powerful machine: my own GPU for local AI experiments, the flexibility to tinker with different operating systems, and a sandbox for 3d graphics, games, and modding. This was a fun exercise in imagining and creating my ideal computing experience. This post walks through the build, some of the decisions I made, and a compute benchmark on my RTX 5070 Ti.
Components

| Component | Selection |
|---|---|
| CPU | AMD Ryzen 5 7600X |
| CPU Cooler | Thermalright Peerless Assassin 120 SE |
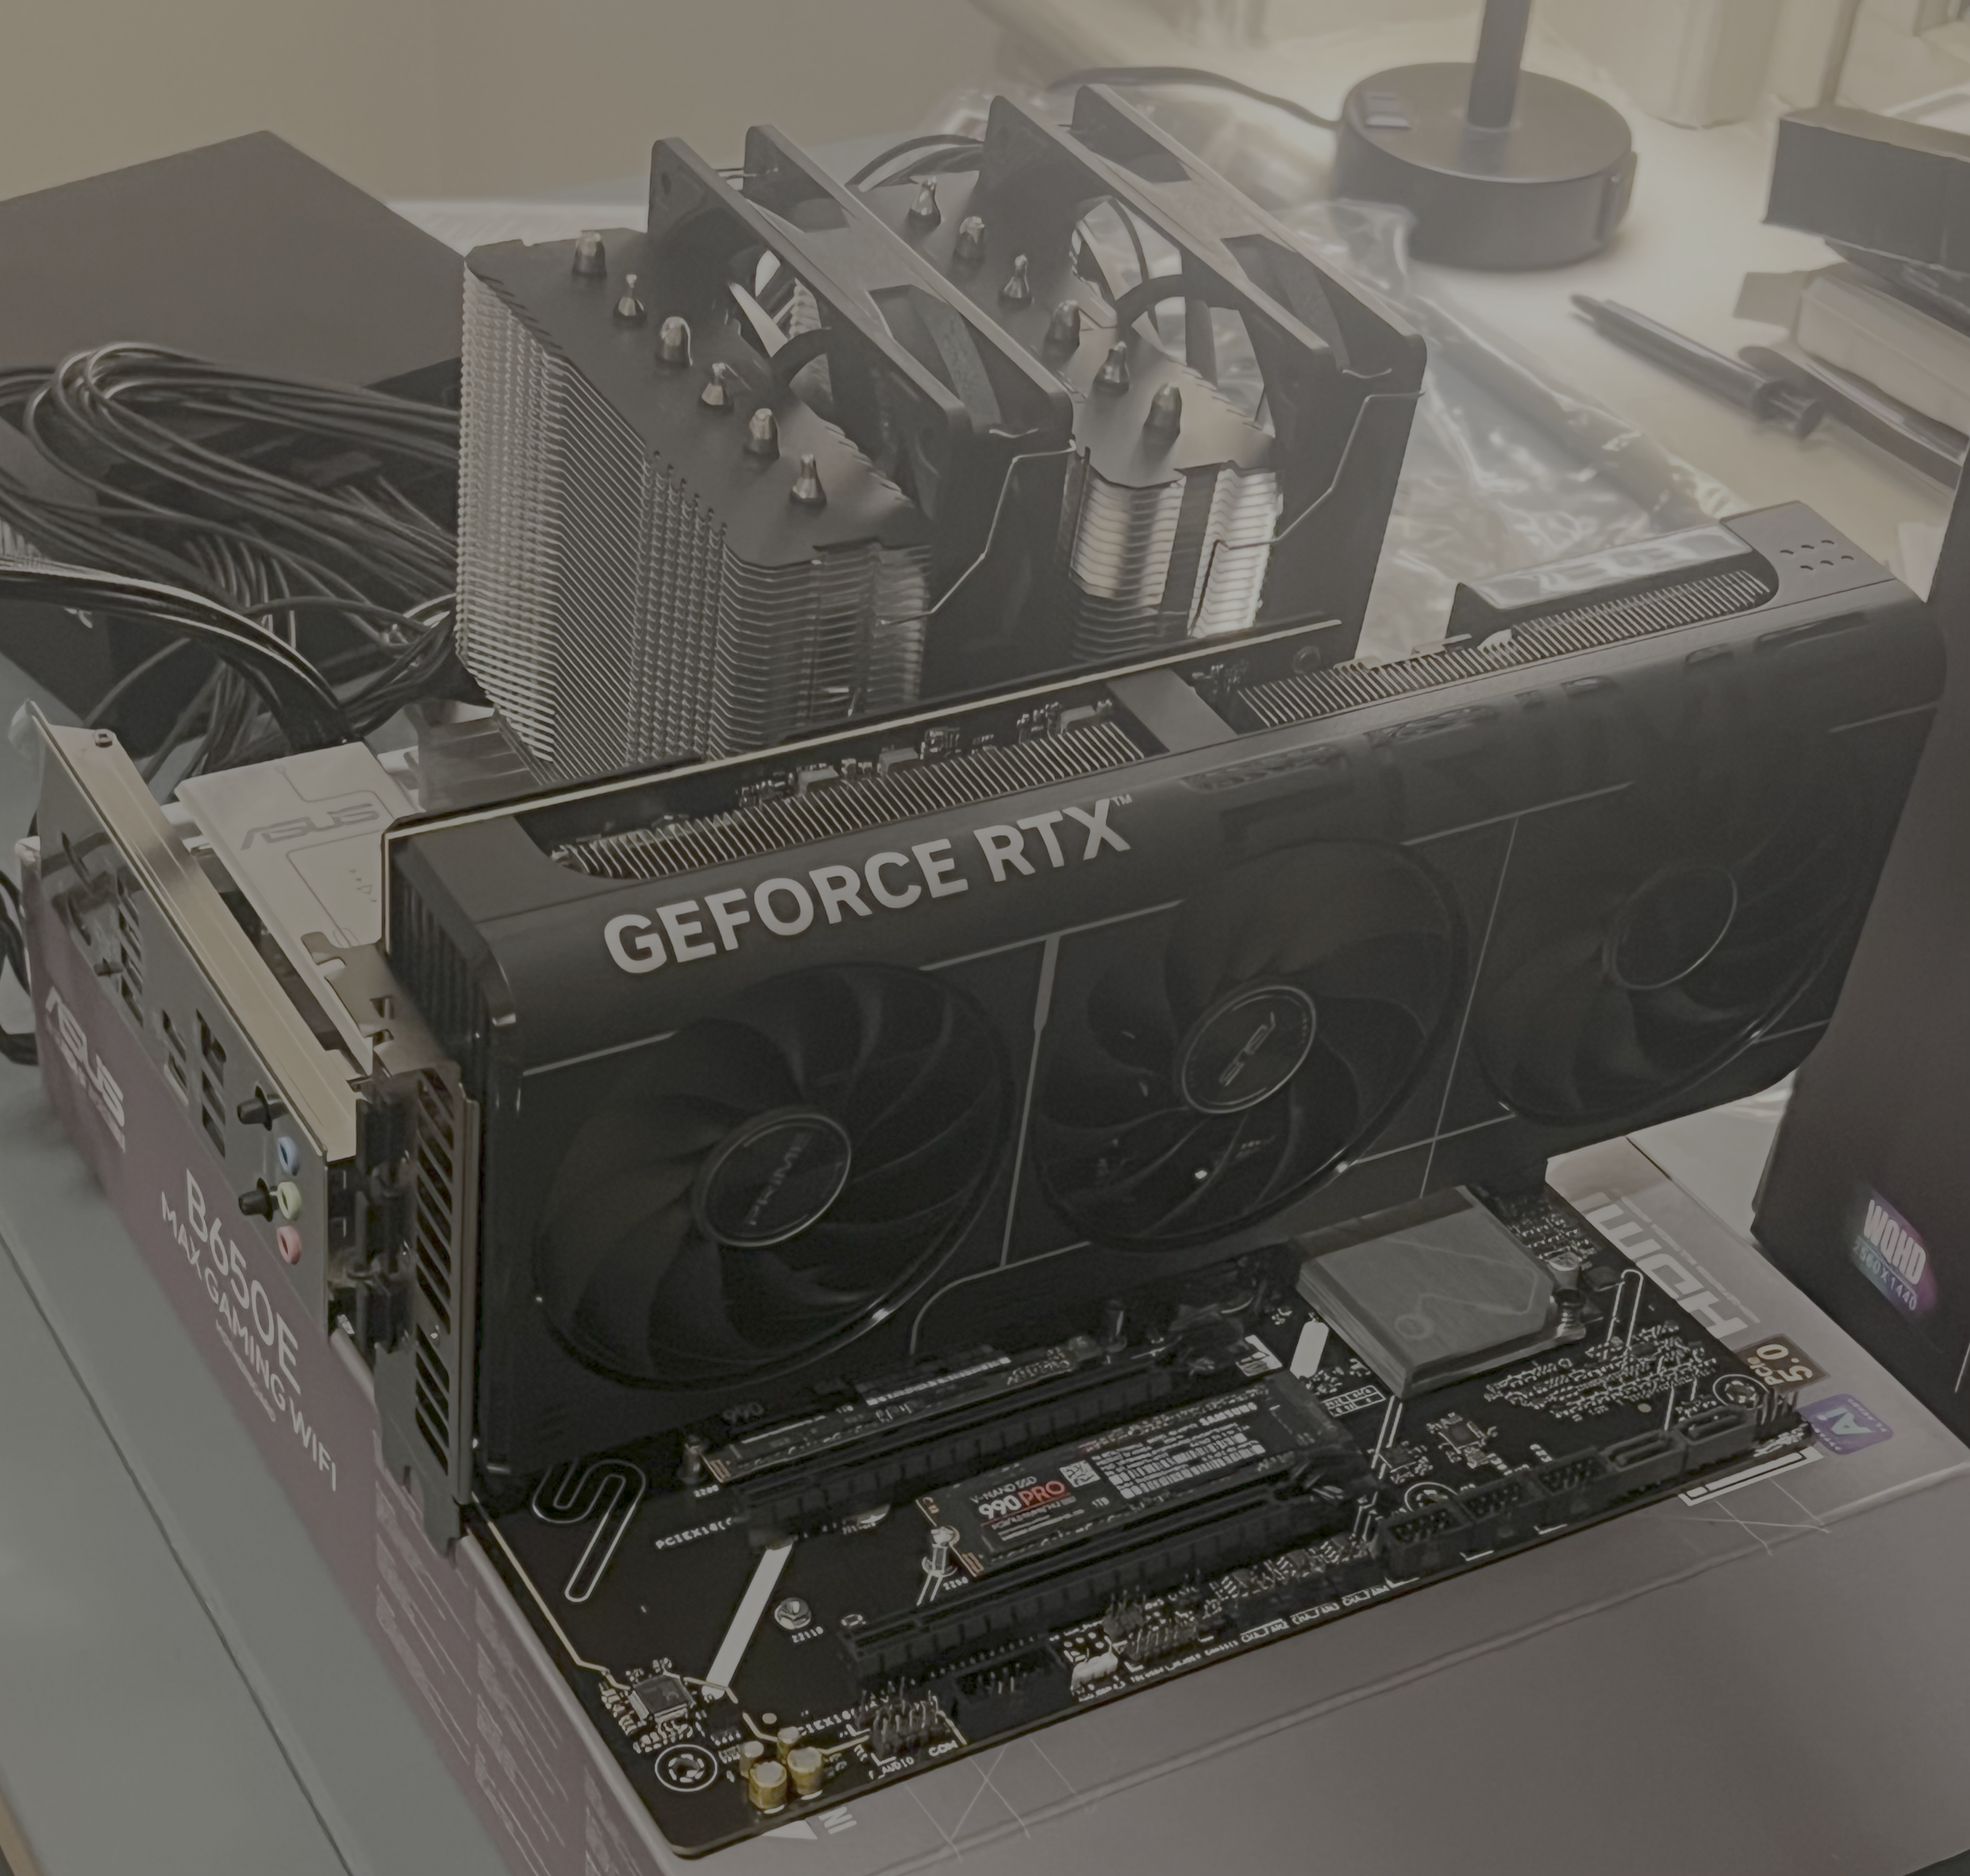
| Motherboard | Asus B650E MAX |
| Memory | Crucial Pro 32GB (2x16GB) DDR5 6000MHz |
| Storage | Samsung 990 PRO 1TB NVMe SSD (2x) |
| GPU | Asus PRIME RTX 5070 Ti 16GB |
| Case | NZXT H5 FLOW ATX |
| Power Supply | Corsair RM850e 850W |
| Monitor | Acer Nitro KGB271U 27" 180HZ |
My guiding tenet for this build was to get solid hardware with room to scale up if needed later on. The motherboard, for example, is compatible with the next gen AMD chips to support a CPU upgrade down the line. I wanted the newest gen Nvidia hardware, and the 5070 Ti with 16 GB VRAM felt like the sweet spot for local AI tinkering without the price jump of a 5080 or 5090. RAM prices have been skyrocketing lately, but I was able to get a decent deal on the 32 GB Crucial 6000MHz, and this is paired with my AMD Ryzen 5 7600x. Finally, I grabbed two 1 TB SSDs, one to run Windows and the other for Linux.
Dual Boot Setup

I decided to get separate physical drives for my dual boot setup for the simplicity of not needing to worry about repartitioning the drives if I ever need more storage or if I want to move one of the drives to another machine. I installed Windows first, then Linux afterward, which from what I read, can help stop Windows from overwriting the Linux bootloader. I reserved the primary M.2_1 slot with direct CPU connection for Linux as my preferred OS, and reserved the secondary M2 slots for my Windows drive.
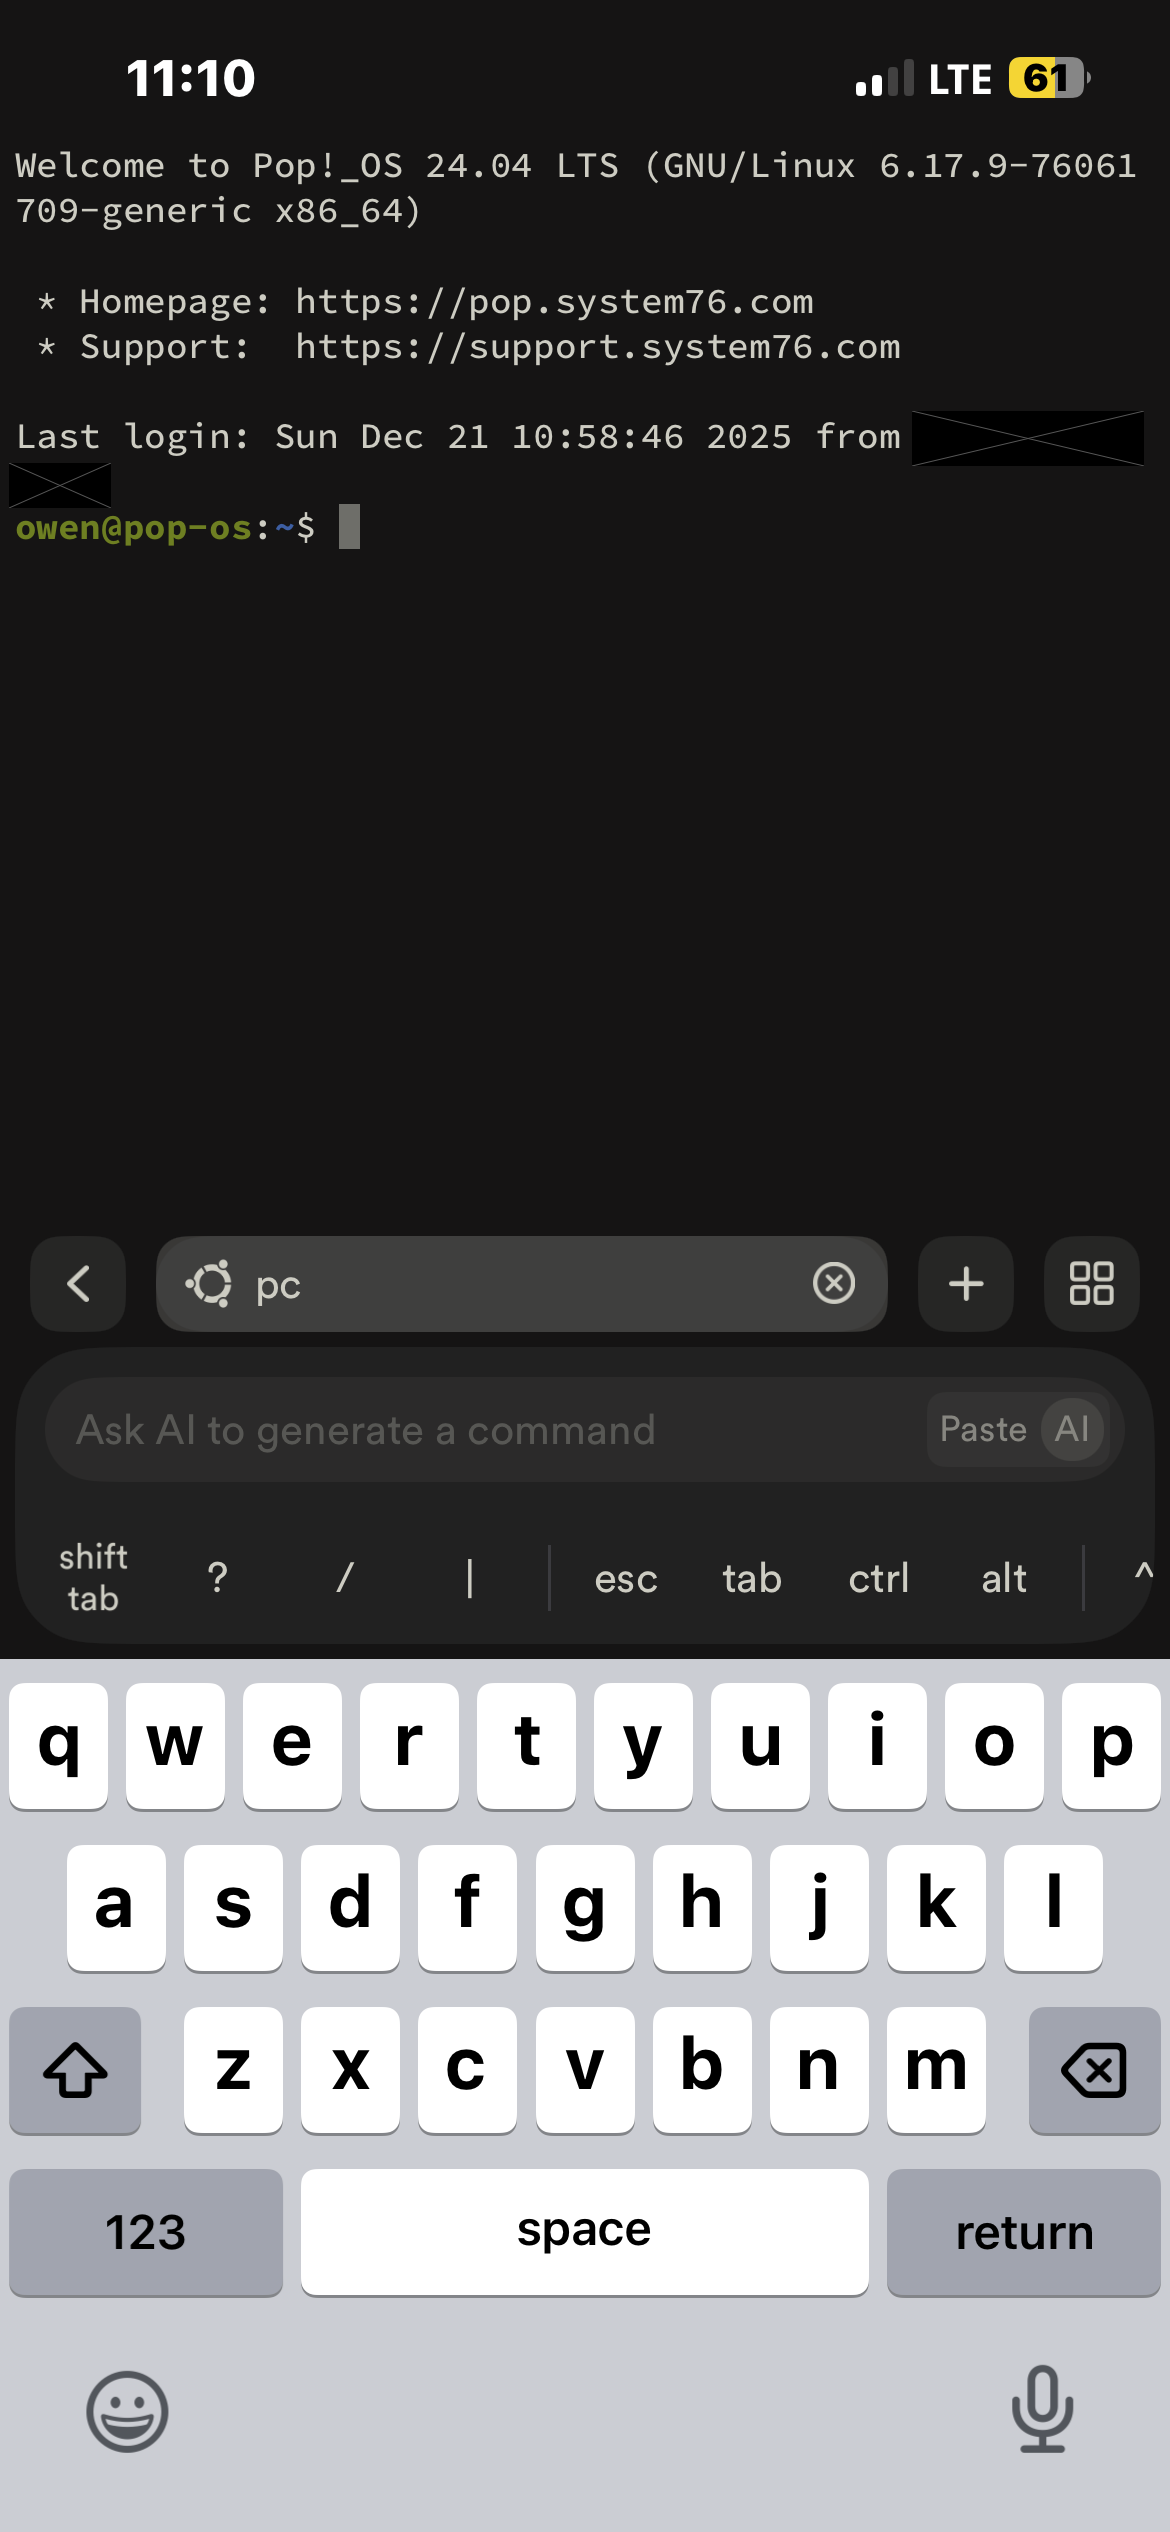
For my primary OS, I went with Pop!_OS. I mainly wanted simplicity, and I read that Pop!_OS has great support for the RTX 50 series drivers out of the box, while some other distros can be painful to configure. I downloaded the Nvidia-specific .iso from System76 and flashed it to a bootable USB using Balena Etcher.
On the secondary drive I installed Windows 11. I'm not a huge fan of the OS, but I wanted to have the ability to run software better suited for Windows natively without needing to run a VM.
For my boot loader, I setup rEFInd with the Tokyo Night theme, for a sleek, minimal aesthetic where I can select which OS to boot into on startup. I still have two more slots on my motherboard and may add another SSD later on to experiment with other Linux distros.
Compute Bench
After completing the build and getting each of the operating systems setup, I put the 5070 Ti to the test.
On Pop!_OS, running nvidia-smi worked out of the box. I just needed to install uv and Pytorch to get started.
curl -LsSf https://astral.sh/uv/install.sh | sh
source ~/.bashrc

uv init

uv python pin 3.13 # To ensure compatibility with Pytorch / Cuda
uv sync
uv add torch --default-index https://download.pytorch.org/whl/cu128
I created a simple matrix multiplication script below to measure FLOPS, or floating point operations per second, for both my CPU and GPU.
import numpy as np
import torch
import time
import argparse


def benchmark_cpu(size: int, iterations: int) -> list[float]:
    """Benchmark CPU matrix multiplication using NumPy"""
    print(f"CPU Benchmark: {size}x{size} matrices (FP32)")
    print("-" * 50)

    times = []

    for i in range(iterations):
        A = np.random.randn(size, size).astype(np.float32)
        B = np.random.randn(size, size).astype(np.float32)

        start = time.time()
        C = np.dot(A, B)
        end = time.time()

        elapsed = end - start
        times.append(elapsed)

flops = 2 * size**3For a 20,000 x 20,000 matrix multiplication:
uv run benchmark.py --sizes 20000
==================================================
Matrix size: 20000x20000
==================================================
CPU Benchmark: 20000x20000 matrices
--------------------------------------------------
Run 1: 17.3794s (0.92 TFLOPS)
Run 2: 17.4506s (0.92 TFLOPS)
Run 3: 17.3604s (0.92 TFLOPS)
--------------------------------------------------
Average: 17.3968s (0.92 TFLOPS)
GPU Benchmark: 20000x20000 matrices
Device: NVIDIA GeForce RTX 5070 Ti
--------------------------------------------------
Run 1: 0.4965s (32.23 TFLOPS)
Run 2: 0.5079s (31.50 TFLOPS)
Run 3: 0.5090s (31.43 TFLOPS)
--------------------------------------------------
Average: 0.5045s (31.72 TFLOPS)
>>> GPU Speedup: 34.5x
the GPU crushes the computation in half a second, compared to over 17 seconds for the CPU. And if we switch to 16 bit floating point numbers:
uv run benchmark.py --sizes 20000 --fp16
==================================================
Matrix size: 20000x20000
==================================================
CPU Benchmark: 20000x20000 matrices (FP32)
--------------------------------------------------
Run 1: 17.3824s (0.92 TFLOPS)
Run 2: 17.4429s (0.92 TFLOPS)
Run 3: 17.4003s (0.92 TFLOPS)
--------------------------------------------------
Average: 17.4086s (0.92 TFLOPS)
GPU Benchmark: 20000x20000 matrices (FP16)
Device: NVIDIA GeForce RTX 5070 Ti
--------------------------------------------------
Run 1: 0.1608s (99.50 TFLOPS)
Run 2: 0.1618s (98.88 TFLOPS)
Run 3: 0.1613s (99.21 TFLOPS)
--------------------------------------------------
Average: 0.1613s (99.20 TFLOPS)
>>> GPU Speedup: 107.9x
the 5070 Ti rips through in 0.16 seconds, achieving nearly 100 TFLOPS, or roughly 100 trillion operations per second.
Networking and Connectivity
I wanted to be able to connect to my PC remotely, either from my laptop or my phone when I'm away from home. I used Tailscale to achieve this, which provides a very simple way to create a private network for your devices. I installed Tailscale on my PC, Mac, and Phone and installed a terminal emulator on my phone where I've added the PC as a known host. Now with one tap I can ssh into my PC from anywhere!
While the CLI interface is not great on an iPhone, my primary use case is running coding agents like Claude Code. When the main interface is natural language rather than special characters, and there is far more reading than typing, then using a terminal emulator on iOS isn't so bad. This connectivity setup allows me to utilize the machine from my laptop as a remote dev box when I'm traveling or just away from home.
Issues and Troubleshooting
Overall the build went smoothly. There were a few minor issues I ran into that I wanted to document here.
Reseating RAM
Initially I slotted all the components into the motherboard before loading everything into the case, just to make sure the parts were functional.
At first one of the RAM sticks was not showing up in BIOS, but after a quick reseat it showed up without any further issues.
Creating a Windows Bootable USB from Mac
Prior to completing this build, I didn't have access to a Windows machine. The Windows OS installer is distributed as a .exe file which requires a Windows environment to run. The alternative is to download the .iso file, but standard tools like Balena Etcher fail because the install.wim file exceeds the 4GB limit of the FAT32 file format required for UEFI booting. I found that you can use the tool wimlib to bypass this limitation by splitting the installer into smaller compatible pieces using the following steps:
  # 1. Install wimlib
  brew install wimlib

  # 2. List external disks to identify USB
  diskutil list external

  # 3. Set env variables
  export USB_ID="disk4"                               # The ID from step 2
  export ISO_PATH="$HOME/Downloads/Win11_English.iso" # Path to your ISO
  export USB_NAME="WININSTALL"                        # Desired name for the USB

  # 4. Erase and format USB (FAT32/MBR)
  diskutil eraseDisk MS-DOS "$USB_NAME" MBR /dev/$USB_ID

  # 5. Mount the Windows ISO and store its volume name
  export ISO_VOL=$(hdiutil mount "$ISO_PATH" | grep -o '/Volumes/.*' | head -n 1)

  # 6. Copy everything except the large install.wim file
  rsync -avh --progress --exclude=sources/install.wim "$ISO_VOL/" "/Volumes/$USB_NAME/"

  # 7. Split and copy the large install.wim file
  wimlib-imagex split "$ISO_VOL/sources/install.wim" "/Volumes/$USB_NAME/sources/install.swm" 3800

  # 8. Cleanup
hdiutil detach "$ISO_VOL"Clock Conflicts
Windows uses local time, while Linux uses UTC. This causes the system time of the PC to conflict when swapping between operating systems. To fix this, I simply ran the following command to switch to local time on the Linux machine:
timedatectl set-local-rtc 1Alternatively you could swap the Windows machine to use UTC, but I've read that it can cause issues down the line that sounded like more trouble than they were worth.
Choosing the Right Drive
During my Pop!_OS installation, I had to choose the SSD to install the OS to. Since I have two of the same Samsung SSD 990 PRO 1TB they looked identical from the menu screen, however upon a closer look they did include the drive path. I knew that I had installed Linux on the secondary drive, but was not 100% certain which was which based on the path. While I could have physically removed the first SSD, (or played Russian Roulette with my Windows drive), I ran the following command to view the contents of the drives:
lsblk -o NAME,SIZE,FSTYPE,LABELNAME SIZE FSTYPE LABEL
loop0 3G squashfs
sda 28.9G iso9660 Pop_OS 24.04 amd64 NVIDIA
├─sda1 3.4G iso9660 Pop_OS 24.04 amd64 NVIDIA
├─sda2 4M vfat
└─sda3 25.5G ext4 writable
zram0 16G
nvme1n1 931.5G
├─nvme1n1p1 100M vfat
├─nvme1n1p2 16M
├─nvme1n1p3 930.5G ntfs
└─nvme1n1p4 889M ntfs
nvme0n1 931.5GFrom here it was clear that the nvme0n1 drive was unused and ready to install Pop!_OS.
Enabling Expo
I got 6000 MHz RAM, but by default my motherboard is limited to 4800 MHz. To get the full performance, I enabled AMD Expo from the BIOS menu.